| ||

Photo Gallery
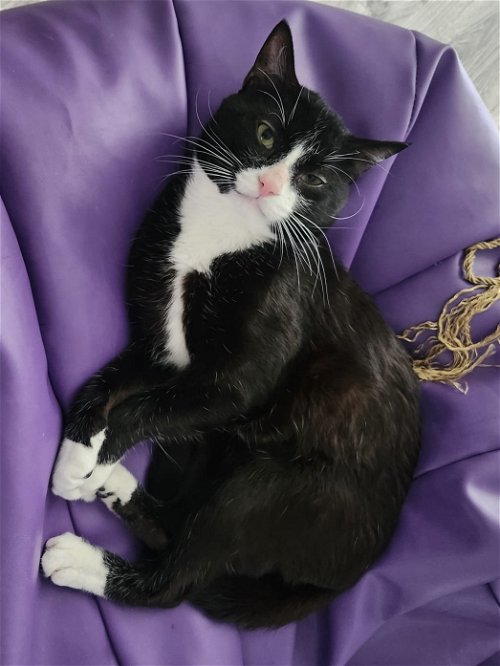
Buster the Brave  Photo credit: Jennifer Slak |
Featured Pet
KITTEN/CAT SPECIAL EVENTS 2024Currently, we have very few kittens/cats for adoption. Keep an eye on this website www.kindnessforcats.org for available kitties.
Adoption events will begin again in April or May Kindness for Cats Kitten Adoptions | FacebookNewsDonate
Connect With Us |